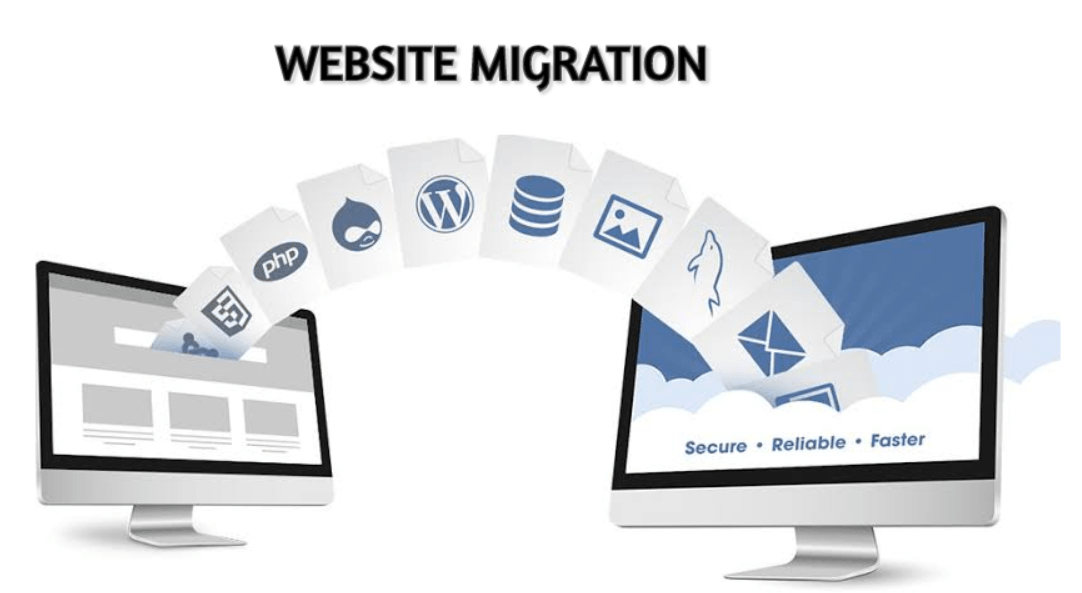
If you migrate your website to dedicated server hosting, it can feel daunting, especially for small business owners and website administrators. However, the benefits—enhanced performance, security, and control—make it a worthwhile decision.
In this guide, we’ll show you how to migrate your website to dedicated server hosting, breaking down the process into manageable steps to ensure a smooth transition. Let’s dig in!
Preparing for Migration
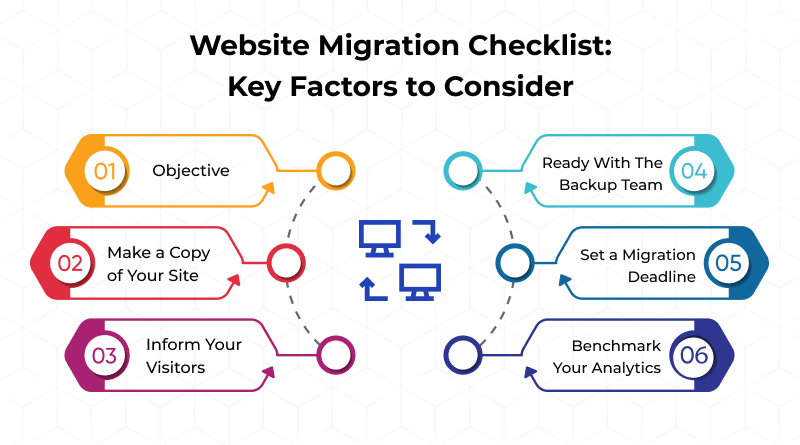
When preparing for migration and creating a migration plan, it’s important to follow a structured approach to ensure a smooth transition.
Creating a Migration Plan
Firstly, develop a detailed migration plan outlining each step of the process. Assign responsibilities and set a timeline to ensure a smooth transition with minimal downtime.
Testing the New Server
Set up a staging environment on the new server to test its performance and configurations. Ultimately, this helps identify potential issues before the actual migration.
DNS and Domain Considerations
Update your DNS settings and ensure your domain points to the new server. This step is critical to avoid downtime during the migration.
Executing the Migration
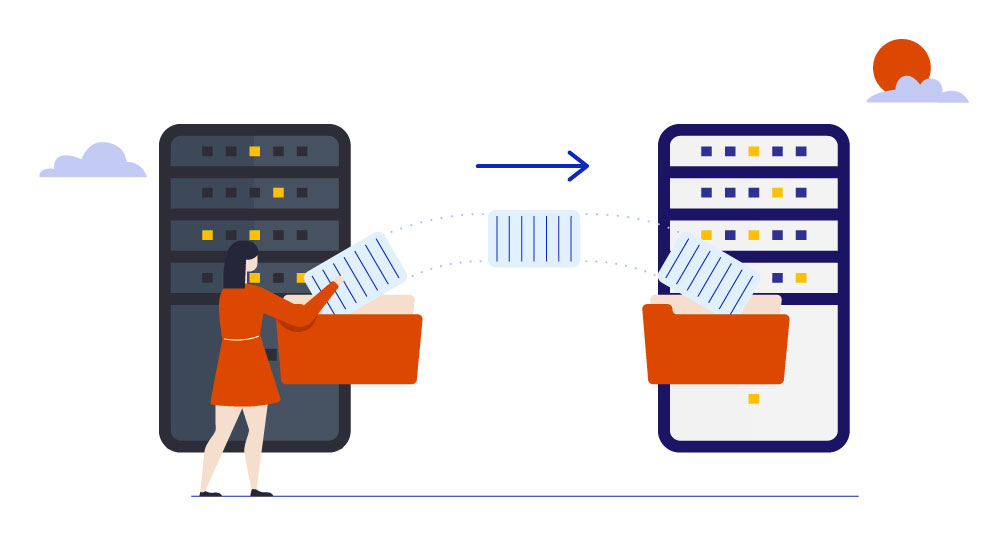
Once the migration plan is set, executing the migration process requires precision and coordination to ensure a smooth transition without disruptions.
Transferring Files and Databases
Use FTP or a similar tool to transfer your website files and databases to the new server. So, ensure all components are correctly uploaded and configured.
Configuring the New Server
Adjust server settings and configurations to match your website’s requirements. As a result, this includes setting up web server software, databases, and email services.
Testing and Verifying
Thoroughly test the website on the new server. Moreover, check for broken links, missing files, and performance issues to ensure everything works as expected.
Post-Migration Steps
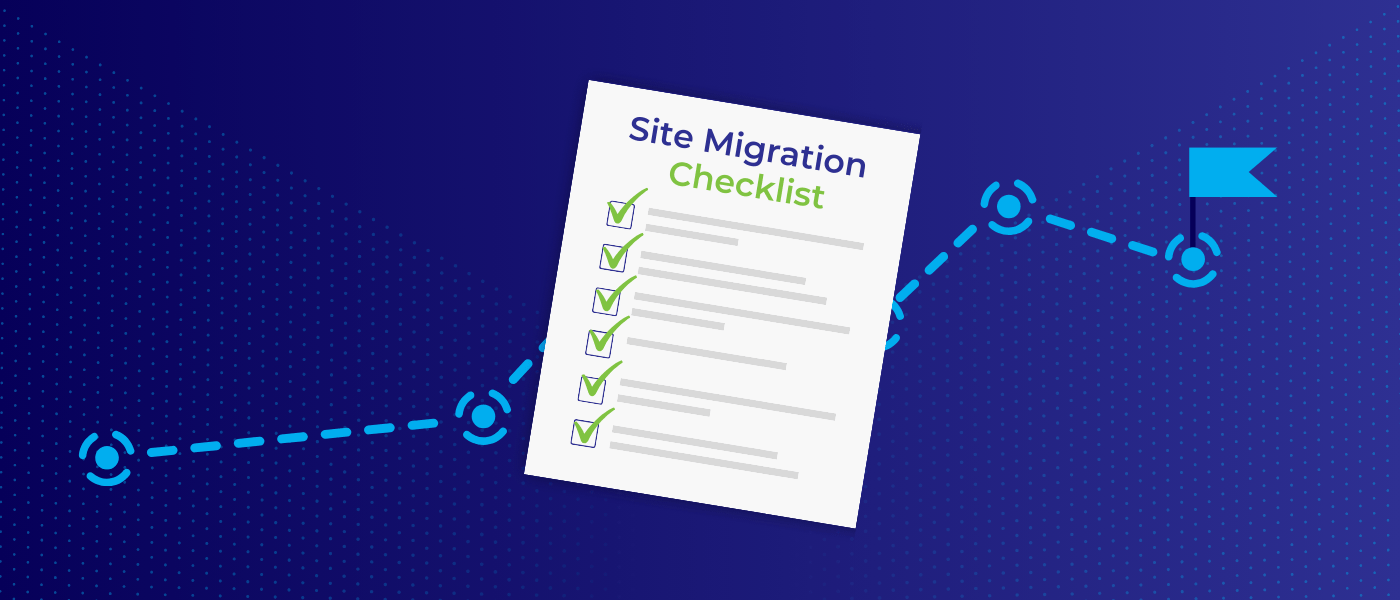
After completing the migration, it’s essential to follow post-migration steps to ensure the stability, security, and performance of your systems. Here’s a structured process to help you wrap up the migration smoothly:
Monitor Website Performance
After migration, monitor your website’s performance closely. Look for any anomalies or issues that need immediate attention.
Update Regularly
Keep your server software and website applications updated. Remember, regular updates enhance security and performance, ensuring a smooth operation.
Seek Professional Help if Needed
If you encounter issues or lack the technical expertise, don’t hesitate to seek professional assistance. So, hiring experts can save time and prevent potential problems.
Common FAQs About Dedicated Server Migration
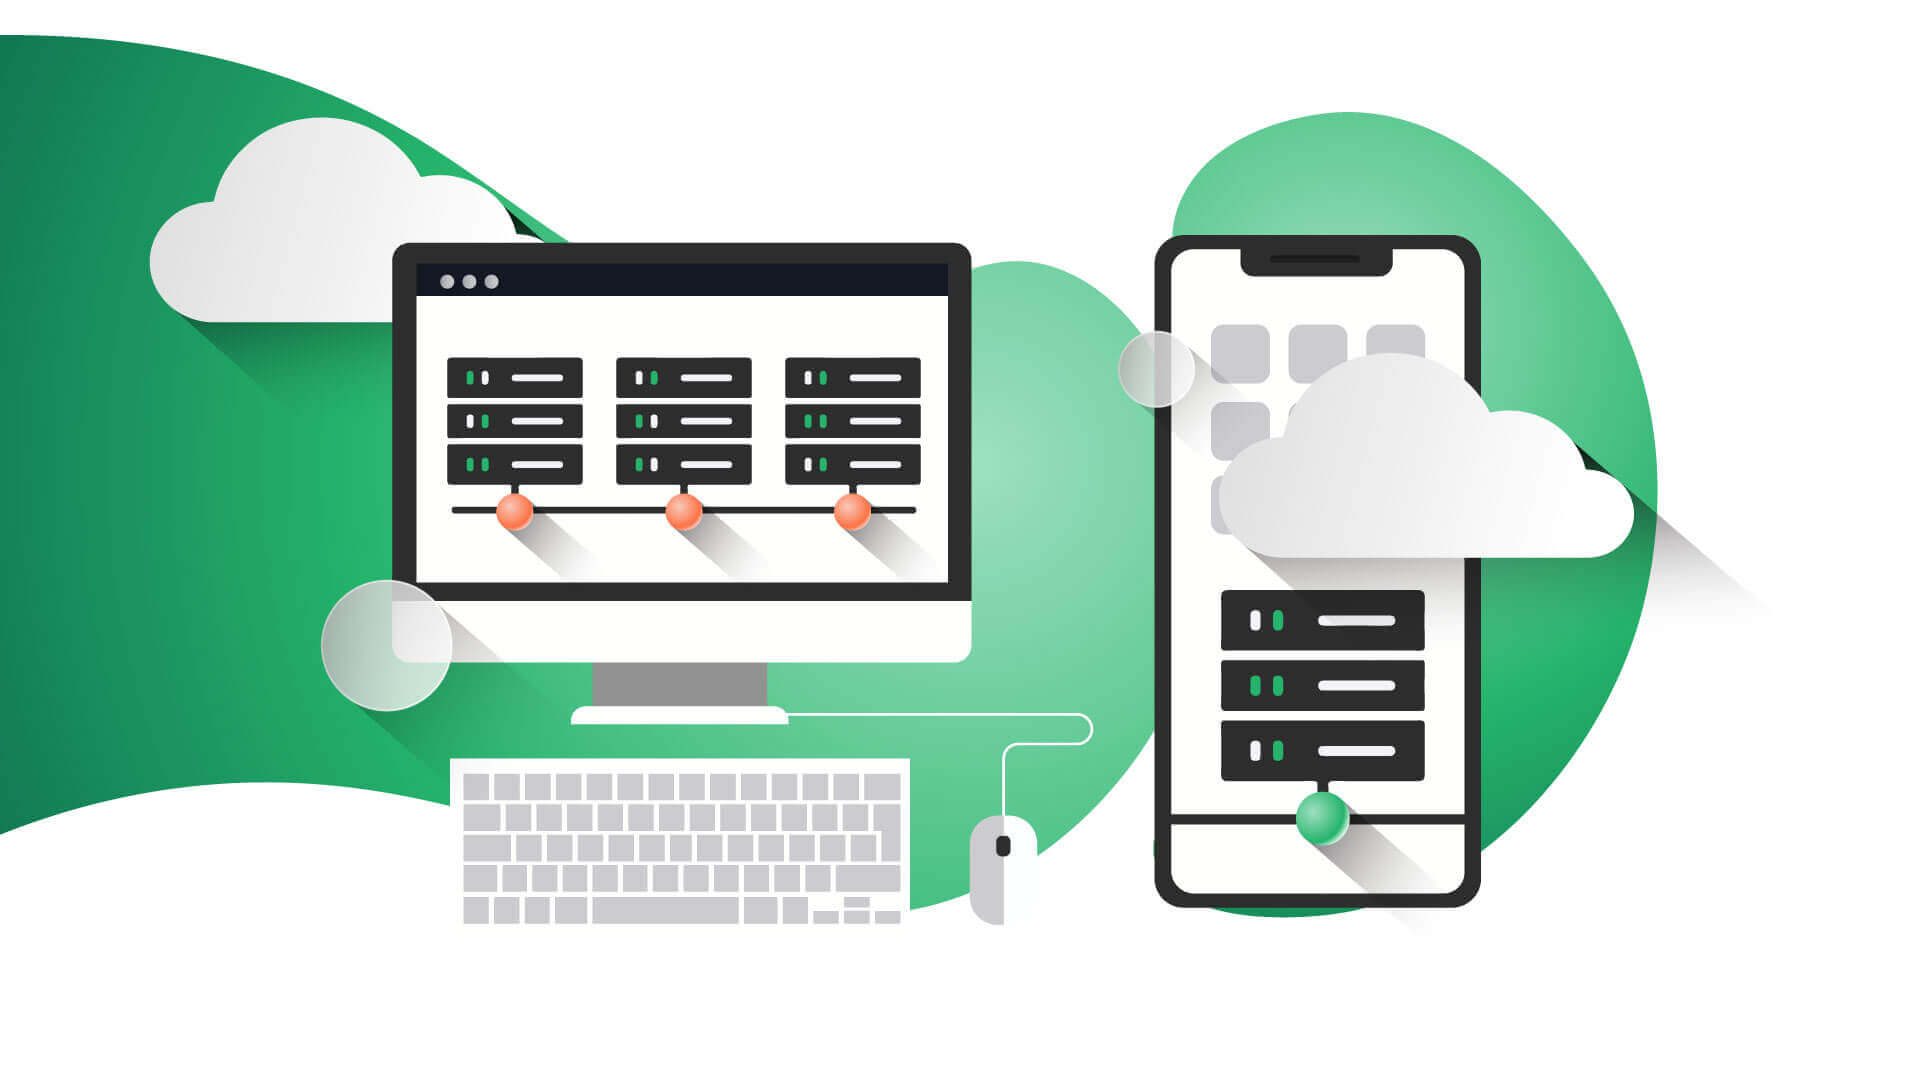
Here are some common FAQs about dedicated server migration to help you understand the key aspects:
What is Dedicated Server Migration?
Dedicated server migration involves moving your website from one hosting environment to a dedicated server. As a result, this process includes transferring files, databases, and configurations.
How Long Does the Migration Process Take?
The duration depends on the size and complexity of your website. Generally, it can take anywhere from a few hours to a couple of days, including testing and verification.
Can I Migrate My Website Without Downtime?
While some downtime might be unavoidable, careful planning and testing can minimize disruptions. Use a staging environment to ensure everything works before the final switch.
Conclusion: Migrate Your Website to Dedicated Server Hosting with Dynamic Hosting!
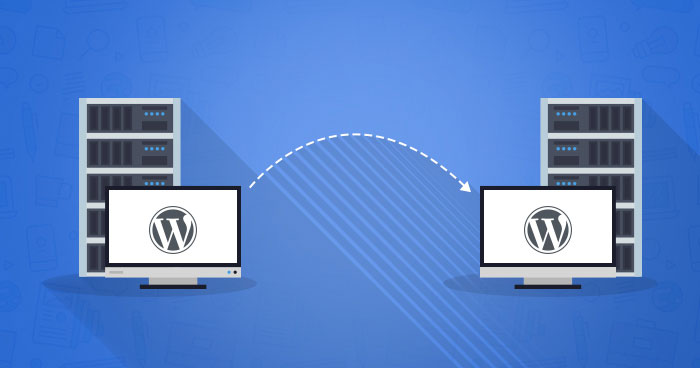
If you migrate your website to dedicated server hosting, it can offer numerous benefits, from improved performance to enhanced security. Remember, by following the steps outlined in this guide, you can ensure a seamless transition that keeps your website running smoothly. So, are you ready to make the move?
Start planning your migration today and enjoy the advantages of dedicated server hosting. For personalized assistance, consider reaching out to Dynamic Hosting, our expert team, to help you achieve a flawless migration.

Recent Comments